
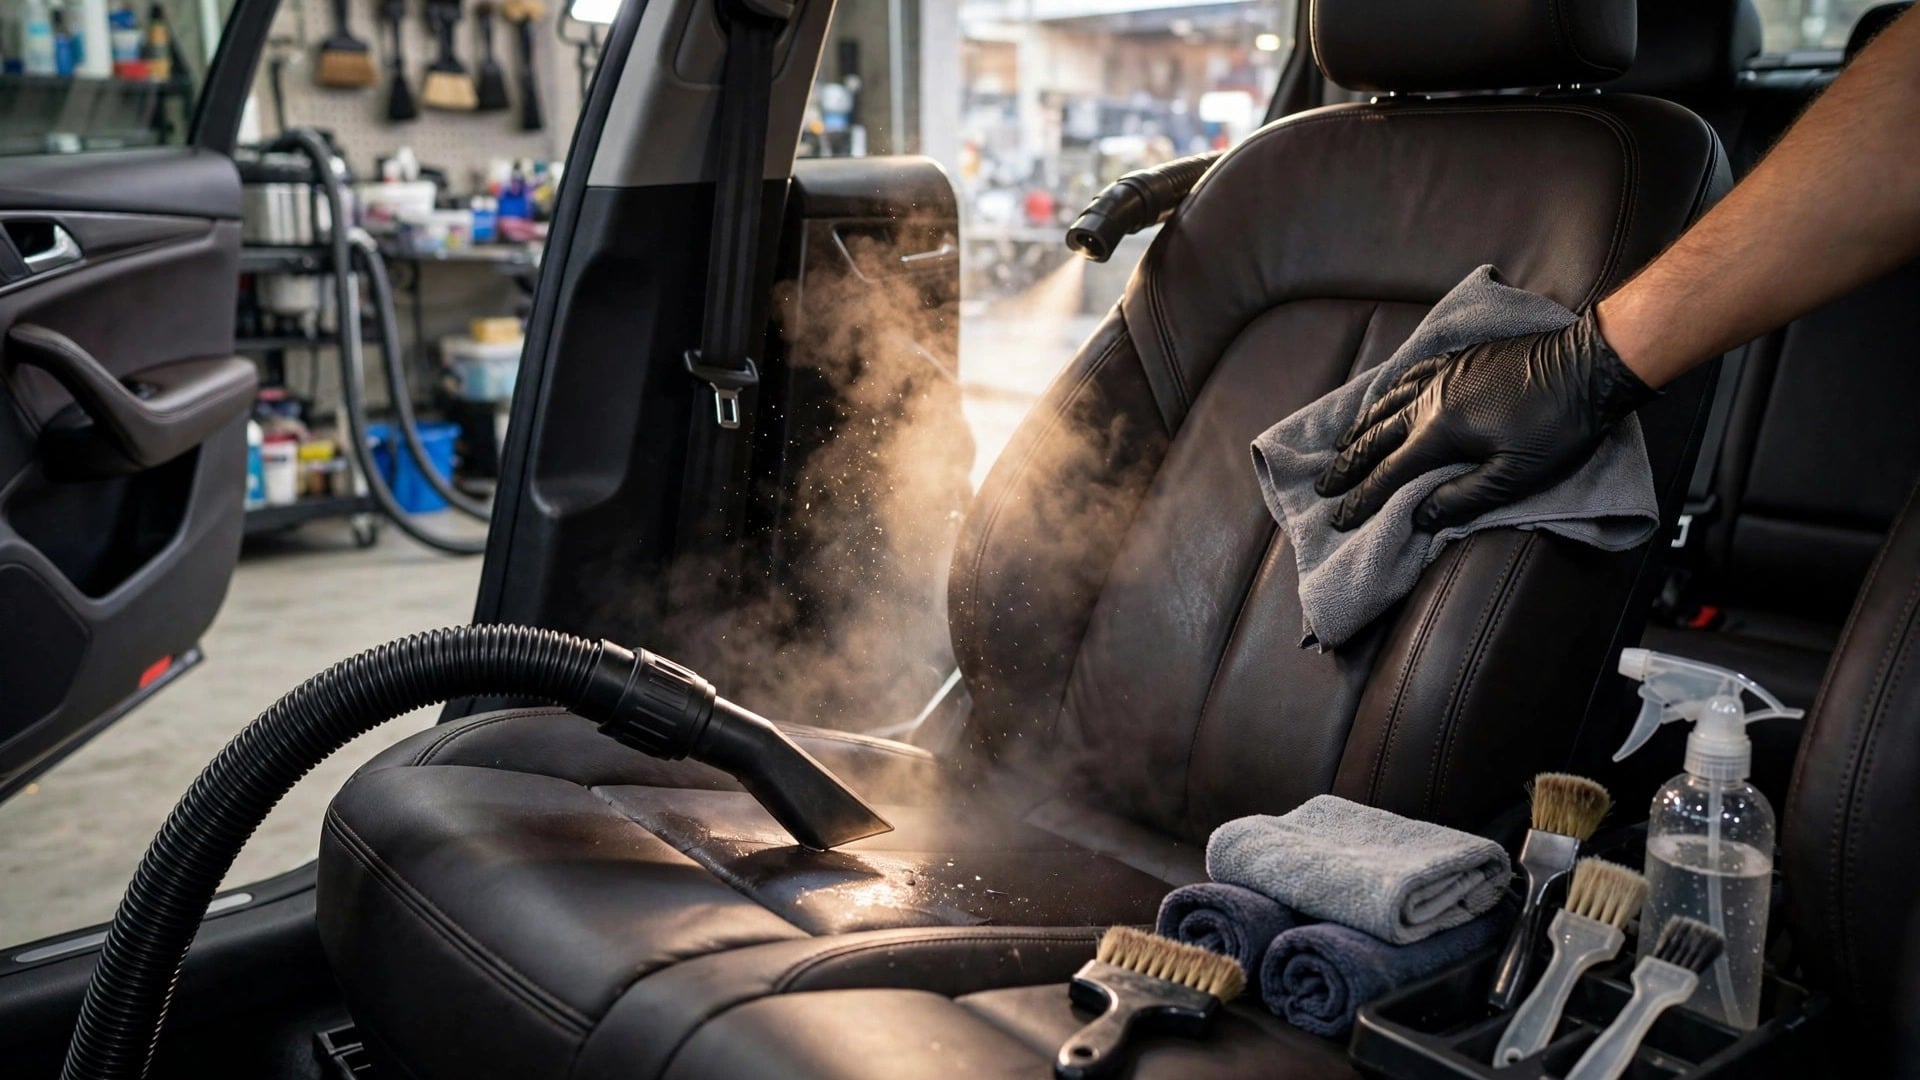
A professional interior detail runs $150–300, and most of what you’re paying for is labor and method — not exotic products. With the right order of operations and a Saturday afternoon, you can get 90% of the way there yourself. The secret professionals know: detailing is a sequence, and doing steps in the wrong order means redoing work.
The two rules: work top to bottom (dirt falls downward — clean the headliner before the carpets), and dry before wet (vacuum everything before any liquid touches a surface).
What you’ll need
- Vacuum with crevice tool and upholstery attachment (a shop vac is ideal)
- Stiff-bristle brush and soft detailing brushes (an old toothbrush works for crevices)
- Microfiber towels — at least half a dozen; cheap ones scratch, so get decent ones
- All-purpose interior cleaner (diluted per label)
- Glass cleaner (ammonia-free if you have tinted windows — ammonia damages tint film)
- Leather cleaner and conditioner (only if you have leather seats)
- Carpet/upholstery cleaner or a small extraction machine for bad stains
- Baking soda (for odors)
- Trash bags
Step 1: Declutter and remove
Take everything out — floor mats, seat covers, trunk contents, the glove box, door pockets, everything. You can’t detail around clutter. Shake out the floor mats outside the car. Bag the trash now; you’ll thank yourself later.
Step 2: The full vacuum
Vacuum every surface before any cleaner comes out. Use the crevice tool along seat rails, between and under seats, and in the gaps where the seat meets the center console — that’s where years of debris live. Move the seats fully forward and fully back to reach underneath. Vacuum the headliner lightly with the upholstery attachment (no pressing — headliner adhesive is delicate and sagging headliners are expensive to fix). Vacuum the trunk and spare-tire well too.
Step 3: Headliner, visors, and pillars
Lightly mist all-purpose cleaner onto a microfiber towel — not directly onto the headliner — and wipe gently. For spots, dab; never scrub. The fabric is thin and glued to foam; aggressive rubbing separates the layers. Clean the sun visors and A/B/C pillars the same way.
Step 4: Dashboard, console, and trim
Wipe the dashboard with a damp microfiber and mild cleaner. Use detailing brushes and the crevice tool around vents, buttons, and seams where dust compacts — a dry brush first, then a damp wipe. Skip silicone-heavy “shine” dressings on the steering wheel, pedals, and touchscreens. A glossy steering wheel is a slippery steering wheel, and dressings streak screens. Matte and clean is the goal, not shiny.
Step 5: Door panels and jambs
Clean the door panels with all-purpose cleaner, then open each door and wipe the door jambs — the painted metal frames around the doorway. Jambs collect road grime and are one of the details that separates a real detail from a quick wipe-down. This is also where you’ll spot early rust if you live somewhere roads get salted.
Step 6: Glass — inside
Interior glass gets a hazy film from off-gassing plastics, and it’s the thing you notice most while driving. Spray ammonia-free glass cleaner onto the towel (not the glass — overspray lands on the clean dash) and wipe in one direction; then buff with a dry microfiber in the perpendicular direction. Two-direction wiping is how you avoid streaks. Don’t forget the inside of the windshield — do it in sections, it’s awkward but worth it.
Step 7: Seats — cloth vs. leather
Cloth seats: Vacuum thoroughly first. For stains, spray upholstery cleaner, agitate gently with the stiff brush, and blot — don’t rub, which spreads the stain and damages fibers. For heavily soiled seats, a small carpet extractor (rentable for ~$30) pulls out shocking amounts of grime. Let everything dry completely with the doors open; damp seats grow mildew.
Leather seats: Vacuum with a soft attachment, then clean with a dedicated leather cleaner and a soft brush, working in small sections. Wipe off, then apply leather conditioner — this is the step people skip, and it’s the one that prevents cracking. Condition every 3–6 months, not just during details.
Step 8: Carpets and floor mats
With the seats moved, vacuum the carpets again, then treat stains the same way as cloth seats. Rubber/all-weather mats: scrub with all-purpose cleaner and a stiff brush, rinse, and dry. Carpet mats: vacuum both sides, spot-treat, and make sure they’re fully dry before they go back in.
Step 9: Odors — source first, scent last
Air fresheners mask; they don’t fix. Find the source: check under seats, in the spare-tire well, and the cabin air filter (a musty filter makes the whole car smell — replacing it is a $15–25, ten-minute job on most cars). For general mustiness, sprinkle baking soda on dry carpets and seats, leave it for several hours or overnight, then vacuum thoroughly. An ozone generator works for stubborn smoke smells but air the car out completely afterward.
Step 10: Final touches
Reinstall the dry floor mats. Wipe down the interior door handles, steering wheel (matte!), and shifter. Do a final walk-around: sit in each seat and look for what you missed — you’ll always find one spot. Stand back and check the glass from outside in daylight.
Mistakes that ruin interiors
- Soaking anything near electronics — window switches, seat controls, and the head unit do not forgive
- Bleach or harsh solvents on any interior surface, ever
- Scrubbing the headliner aggressively (sagging headliner = expensive reupholstery)
- Dressing the pedals or steering wheel with anything slippery
- Putting damp floor mats back in (mildew by next week)
Related reading
- Best Cars for City Driving: Top Picks for Urban Commuters in 2025
- DIY Car Detailing at Home Step by Step
- How to Maintain a Used Car for Longevity
- How to Remove Car Scratches with Toothpaste: A Simple DIY Fix
