
A good photo can last for decades, but only if it is supported and protected in the right way. Mounting is not just about making an image look neat on a wall – it is a practical layer of defense against bending, scuffing, and gradual fading.
The best methods are usually the simplest: stable backing, gentle attachment, and a front barrier that blocks the things you cannot see happening day to day. When those pieces work together, your photo stays flatter, cleaner, and easier to handle without stress.
Why Mounting Matters More Than Most People Think
Photos are thin by design, which makes them vulnerable to curling, rippling, and small edge knocks. Even minor changes in humidity can tug at paper fibers, and once a print warps, it becomes harder to display without pressure points.
Mounting adds structure, so the print is less likely to flex when it is moved, cleaned, or rehung. It creates a buffer between the image and whatever is behind it, which helps prevent marks that show through.
A 2024 Photobox article on display best practices points out that mounting is worth doing carefully if you want memories to stay presentable for the long term, not just for the first few weeks on the wall.
Keeping The Photo Flat Without Over-Stressing It
Flatness is about reducing future damage. A photo that bows forward is easier to scratch and harder to dust, and it often rubs against glazing or a mat opening in ways that leave faint wear.
A well-fitted mount keeps the print from sagging while still letting the paper move slightly with normal seasonal changes. In practice, that often means avoiding heavy pressure across the entire surface and focusing support where it is needed most.
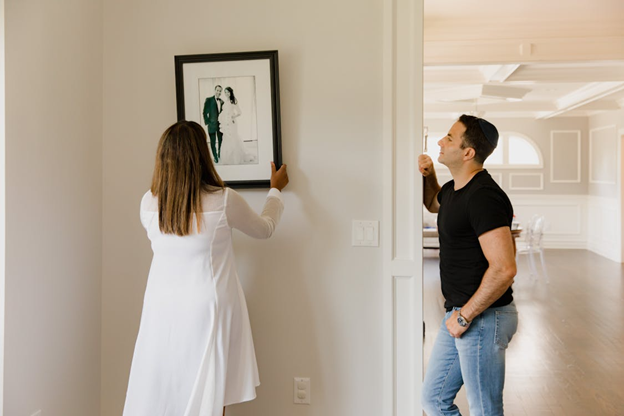
When you want a clean, ready-to-frame look, a pre-cut mount can save time and reduce handling. If you are pairing it with options such as EasyFrame and choose a snug fit that supports the edges, it helps the print stay flatter over time, and makes framing and display easier with less risk of scuffs or contact marks. That way, the photo stays better protected, and you get a finish that looks neat and stays low-maintenance.
Choosing A Mount That Matches The Print
Not every print wants the same support. A glossy lab print behaves differently from a matte fine-art paper, and both react differently if the photo is inkjet or has a textured surface.
If you are experimenting, start with a method you can undo, like photo corners or a window mat that holds the edges without pinning the whole surface. In the middle ground, mounting tissue or low-tack adhesives can work well, but only when they suit the paper and the environment.
If you are ordering mounts or preparing prints at home, keep the goal simple: the mount should carry the stress, not the photo.
Controlling Moisture And Airflow Around The Image
Photos do not like being sealed up against unknown materials. When a print sits directly on a backing that can off-gas or hold moisture, discoloration and surface changes can creep in slowly and unevenly.
Spacers, mats, and proper backing create a small air gap that reduces the chance of the image sticking to glazing or picking up condensation. That gap makes everyday temperature swings less dramatic at the print surface.
The key is balance: too tight, and you trap moisture; too loose, and dust finds its way in. A tidy internal “sandwich” of mount, print, and backing often gives the most reliable day-to-day protection.
Adding UV And Front-Surface Protection
Light damage is sneaky because it feels harmless until it is not. Sunlight and strong indoor lighting can fade dyes and shift tones, especially in bright areas like skies and skin highlights.
One practical upgrade is UV-filtering acrylic or glazing, which reduces exposure without changing how you live with the photo. American Frame notes that UV protection in certain acrylic options is built into the material rather than applied as a surface coating, which matters because it does not rely on a delicate top layer.
If you are deciding what protection level is “enough,” think about placement first, then materials. These quick checks help:
- Direct sun for 1+ hours a day
- Spotlights aimed at the wall
- High-traffic areas where fingers and dust are common
- Rooms with big temperature swings, like kitchens
Using Reversible Methods For Higher-Value Prints
Sometimes the best protection is the ability to change your mind later. Reversible mounting is especially useful for prints with sentimental value, limited editions, or anything you might want to reframe as styles or spaces change.
Traditional conservation methods focus on materials that are stable and removable, so the artwork is not permanently altered.
A Frame London feature on Japanese conservation approaches highlights the use of wheat starch paste and Japanese paper, with reversibility as a central benefit for long-term preservation.
Mounting is practical protection when it supports the print without forcing it into place. If the photo sits flat, stays separated from risky surfaces, and is shielded from light and handling, you have already solved most of the common damage pathways.
The “best” method is usually the one that fits your space and habits. A sensible mount, careful materials, and a bit of planning around light and moisture will keep photos looking like themselves, not like a record of everything the room put them through.