
Electric vehicles (EVs) have become increasingly popular as drivers look for sustainable and cost-effective alternatives to gas-powered cars. However, to get the most convenience out of owning an EV, having a Level 2 charger installed at home is a game changer.
Unlike standard Level 1 chargers that plug into a regular household outlet and take 20+ hours to fully charge your car, a Level 2 EV charger can reduce charging time to just a few hours. If you’re considering making the upgrade, this guide will walk you through everything you need to know about how to install a Level 2 EV charger at home, from selecting the right equipment to understanding installation requirements and safety precautions.
What Is a Level 2 EV Charger?
A Level 2 EV charger operates at 240 volts, the same voltage used for large home appliances such as dryers or ovens. It delivers 20–60 miles of range per hour, depending on the charger’s amperage and the vehicle’s battery capacity.
There are two main types of Level 2 chargers:
-
Plug-in chargers – Portable and can be plugged into a 240V outlet.
-
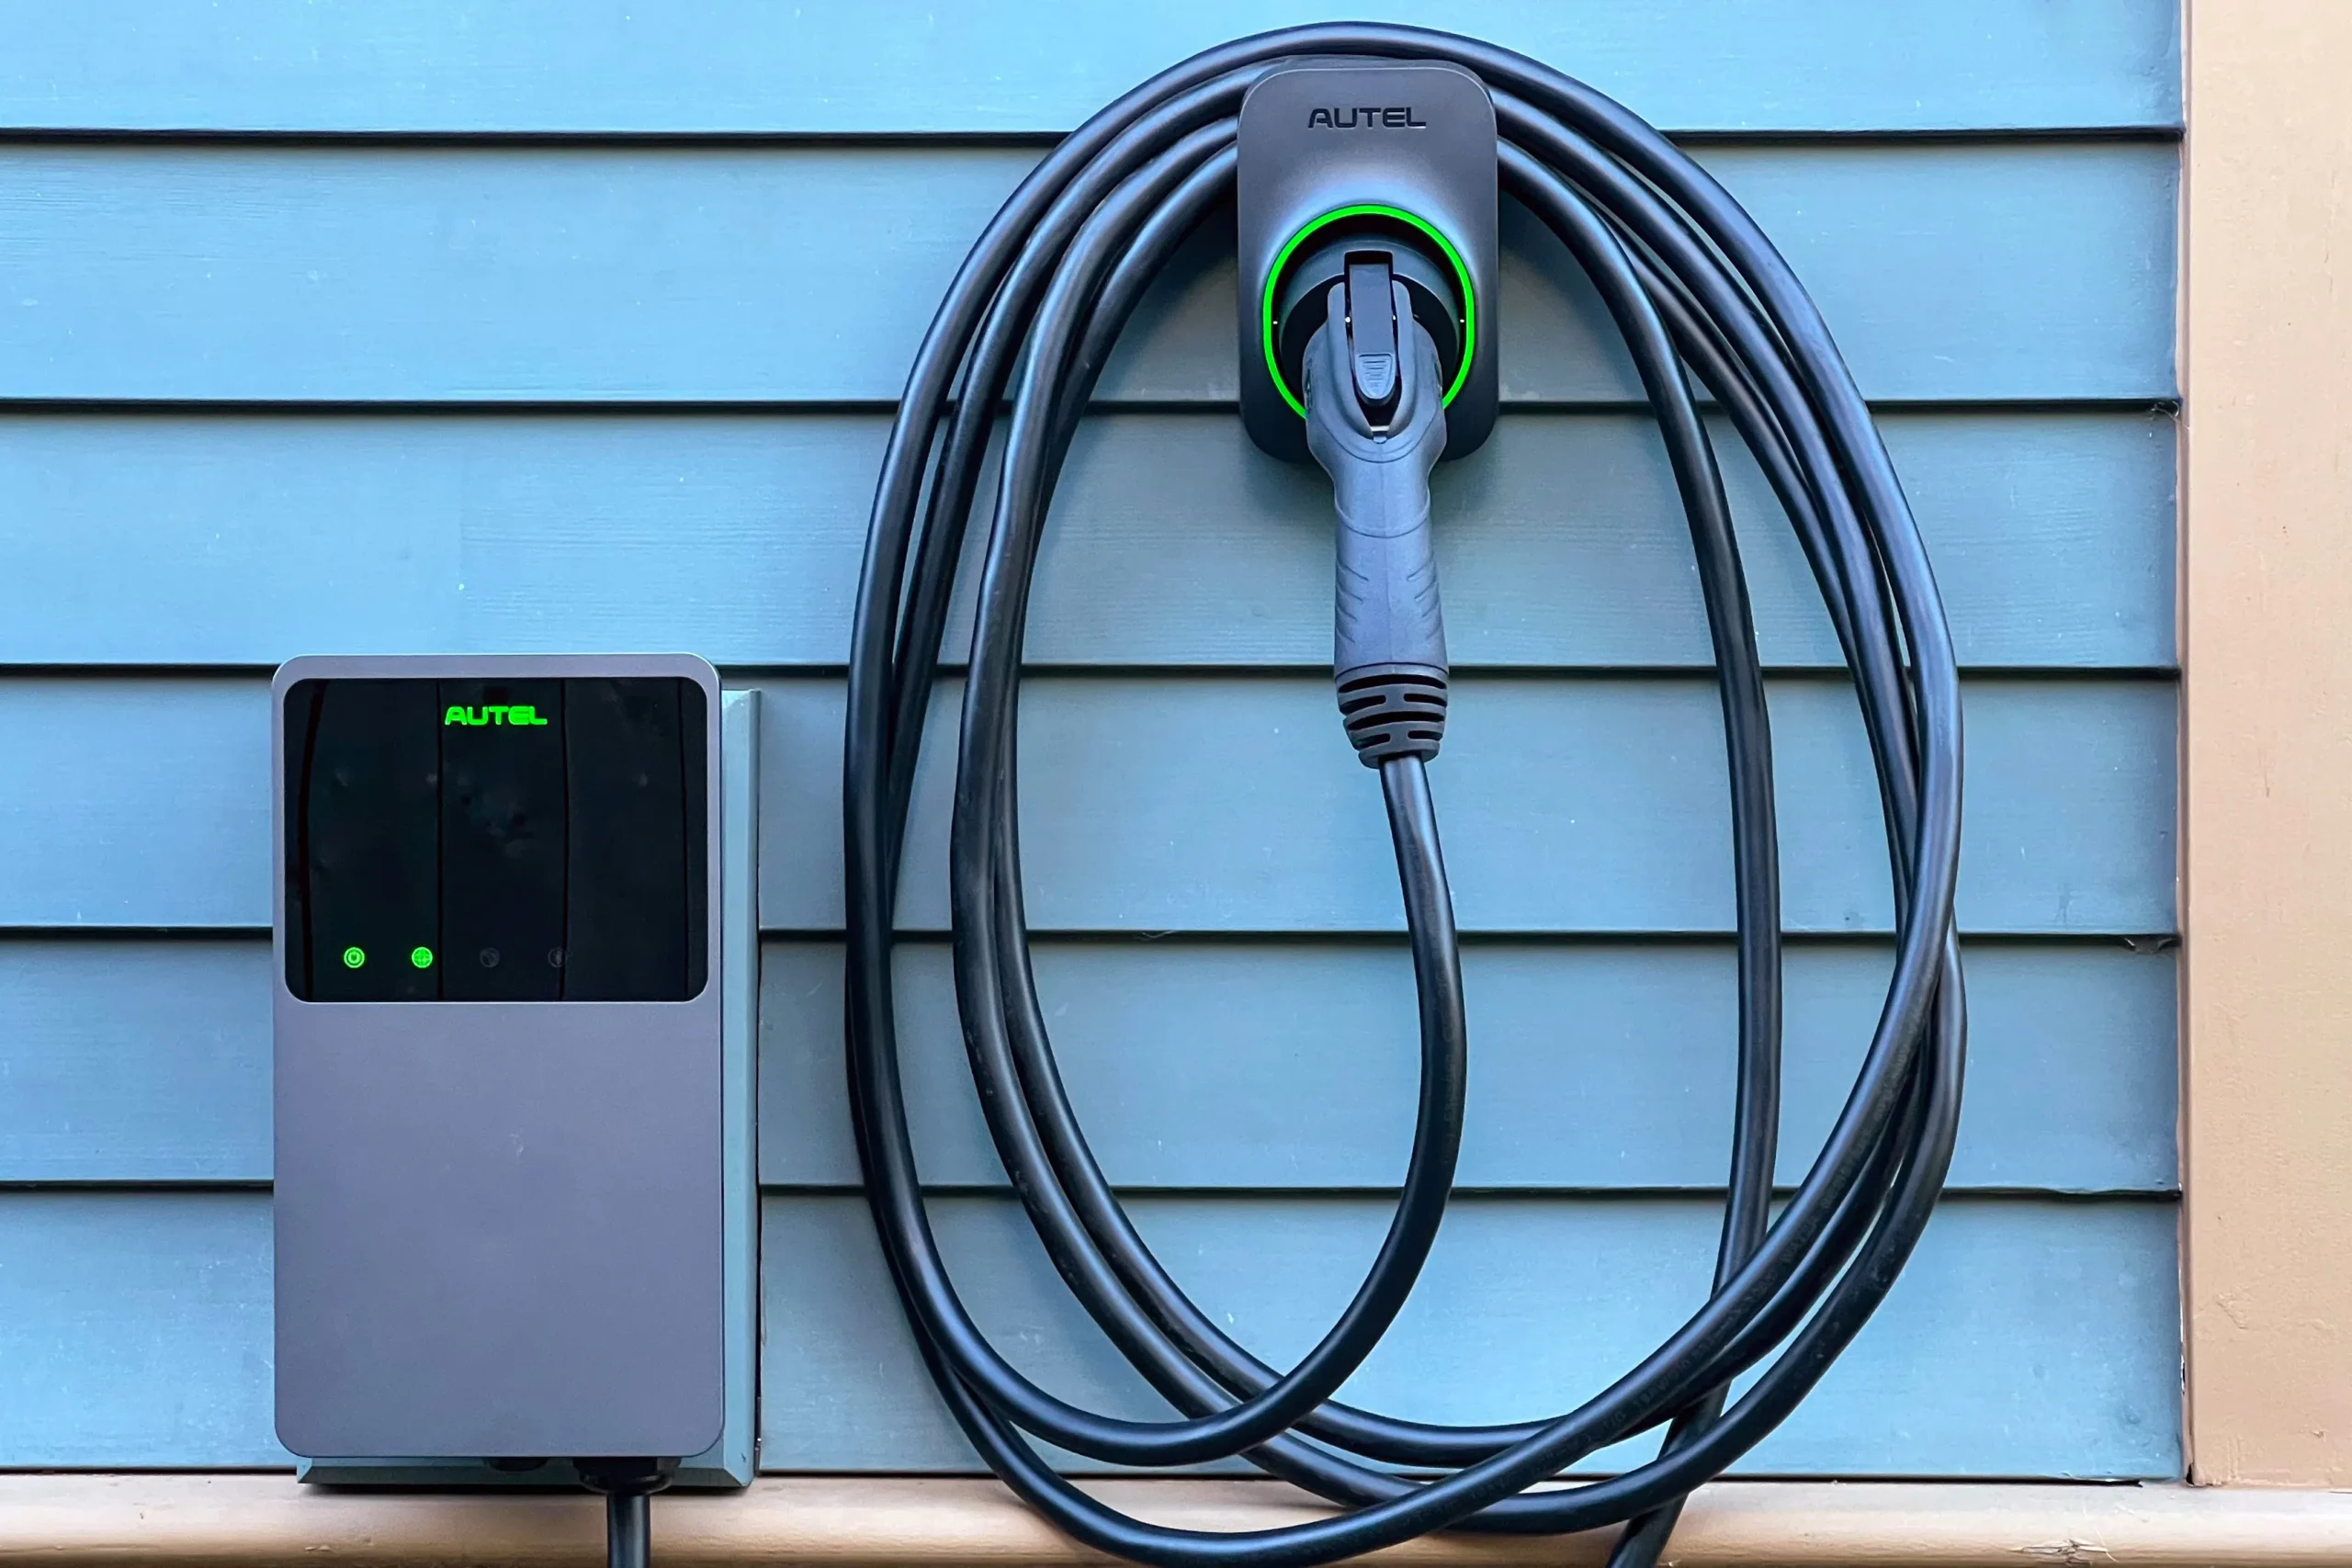
Hardwired chargers – Permanently connected to your home’s electrical system for a cleaner look and better performance.
Benefits of Installing a Level 2 Charger at Home
| Benefit | Description |
|---|---|
| Faster Charging | Charges most EVs 4–6 times faster than a standard outlet. |
| Convenience | Plug in overnight and wake up to a full battery. |
| Cost Savings | Charging at home is cheaper than using public stations. |
| Increased Home Value | Adds appeal to eco-conscious homebuyers. |
| Future-Proofing | Supports the growing EV infrastructure at home. |
Step-by-Step Guide: How to Install a Level 2 EV Charger at Home
Step 1: Assess Your Electrical Capacity
Before purchasing a charger, determine whether your home’s electrical system can support a 240V circuit. Most homes built in the last few decades can handle the additional load, but older houses may require an electrical panel upgrade.
-
Check your main panel’s capacity (in amps). You’ll need at least 200 amps for multiple high-power appliances and a Level 2 charger.
-
Hire a licensed electrician to inspect your setup and confirm compatibility.
Step 2: Choose the Right Charger
Selecting the best Level 2 charger depends on your vehicle type, budget, and charging preferences.
Key features to consider:
-
Charging Speed: Measured in amps—32A to 48A are the most common.
-
Connectivity: Smart chargers offer Wi-Fi or Bluetooth for tracking and scheduling.
-
Cable Length: A longer cable (20–25 feet) provides flexibility for different parking setups.
-
Weather Resistance: If installing outdoors, choose a charger rated for outdoor use (NEMA 4 or better).
Popular Brands: Tesla Wall Connector, ChargePoint Home Flex, JuiceBox, and Emporia EV Charger.
Step 3: Determine the Installation Location
The best place to install a Level 2 charger is near your parking area or garage where your EV is regularly parked.
Consider:
-
Distance to the electrical panel (shorter distance means lower cost).
-
Accessibility and cable reach.
-
Protection from weather or physical damage.
If you plan to charge outdoors, install the charger on a wall or post at least 24 inches above the ground to avoid water damage.
Step 4: Obtain Necessary Permits
Most local governments require an electrical permit for installing a Level 2 charger.
Your electrician can help handle this process. Permits ensure:
-
The wiring and connections meet local electrical codes.
-
The installation is safe and professionally verified.
Skipping permits can cause issues if you sell your home or need insurance coverage later.
Step 5: Hire a Licensed Electrician
Although plug-in chargers might seem easy to install, a professional electrician ensures everything is wired safely and up to code.
Typical installation steps include:
-
Running a dedicated 240V circuit from your electrical panel to the charger location.
-
Installing a circuit breaker appropriate for your charger’s amperage.
-
Mounting and wiring the charger securely to a wall or post.
-
Testing to verify safe operation.
DIY installation is not recommended unless you’re certified to handle electrical work. Safety and compliance are top priorities.
Step 6: Connect and Test the Charger
Once installed, your electrician will connect the charger, test voltage levels, and ensure the system functions properly.
Plug in your EV and monitor the first few charging sessions to confirm:
-
The charger communicates correctly with your car.
-
Charging speed matches your charger’s rating.
-
The breaker and wiring remain cool and stable during operation.
Step 7: Register and Optimize Usage
Most smart chargers have mobile apps to:
-
Track charging sessions and energy usage.
-
Schedule charging during off-peak hours for lower electricity rates.
-
Monitor performance and firmware updates.
Bonus Tip: If your utility company offers EV charging rebates or time-of-use discounts, sign up to save on your monthly bill.
Estimated Cost of Installing a Level 2 Charger
| Expense | Average Cost (USD) |
|---|---|
| Level 2 Charger | $400 – $900 |
| Electrical Materials | $100 – $300 |
| Professional Installation | $500 – $1,200 |
| Permits and Inspection | $50 – $200 |
| Total Estimated Cost | $1,000 – $2,500 |
The total cost varies based on your home’s wiring, charger type, and installation complexity. Many regions also offer government rebates or tax credits for EV charger installations, reducing your overall cost.
Maintenance and Safety Tips
-
Inspect connections regularly for wear or damage.
-
Clean the charging cable with a dry cloth to avoid dust or debris buildup.
-
Avoid using extension cords, as they can overheat.
-
Schedule annual electrical inspections to ensure long-term safety.
-
Update firmware for smart chargers to maintain peak performance.
EV Charger Installation vs. Car Customization
Both EV charger installation and car customization reflect how drivers personalize their driving experience. Just as Affordable Car Interior Mods for Beginners can enhance comfort and style inside a vehicle, installing a Level 2 charger elevates your overall EV ownership experience—making daily use more efficient, enjoyable, and future-ready.
FAQs About Installing a Level 2 EV Charger at Home
Q1: Can I plug a Level 2 charger into a regular outlet?
No. Level 2 chargers require a 240V outlet. A standard household outlet (120V) only supports Level 1 charging.
Q2: How long does professional installation take?
Most installations are completed in 2–4 hours, depending on the wiring distance and complexity.
Q3: Can I install a Level 2 charger outdoors?
Yes, but make sure to use weatherproof equipment and protective enclosures.
Q4: Is it worth installing a Level 2 charger at home?
Absolutely. It saves time, adds convenience, and can increase your home’s resale value.
Q5: Do I need to upgrade my electrical panel?
Only if your current panel lacks capacity for a dedicated 240V circuit. Your electrician can advise after inspection.
Final Thoughts
Installing a Level 2 EV charger at home is one of the smartest investments for EV owners. It offers faster charging, greater convenience, and long-term savings—all while supporting a cleaner, greener future.
With proper planning, professional installation, and smart energy management, you can enjoy the full potential of your electric vehicle without ever worrying about running out of charge again.