
Parking sensors are an essential upgrade for drivers looking to improve their vehicle’s safety and convenience. Whether you drive an older car or a basic model that didn’t come with factory-installed sensors, retrofitting parking sensors is a practical and affordable solution.
In this article, we’ll explore how to retrofit parking sensors in any car, the tools you’ll need, types of sensors, a comparison of popular kits, and common installation tips.
What Are Parking Sensors?
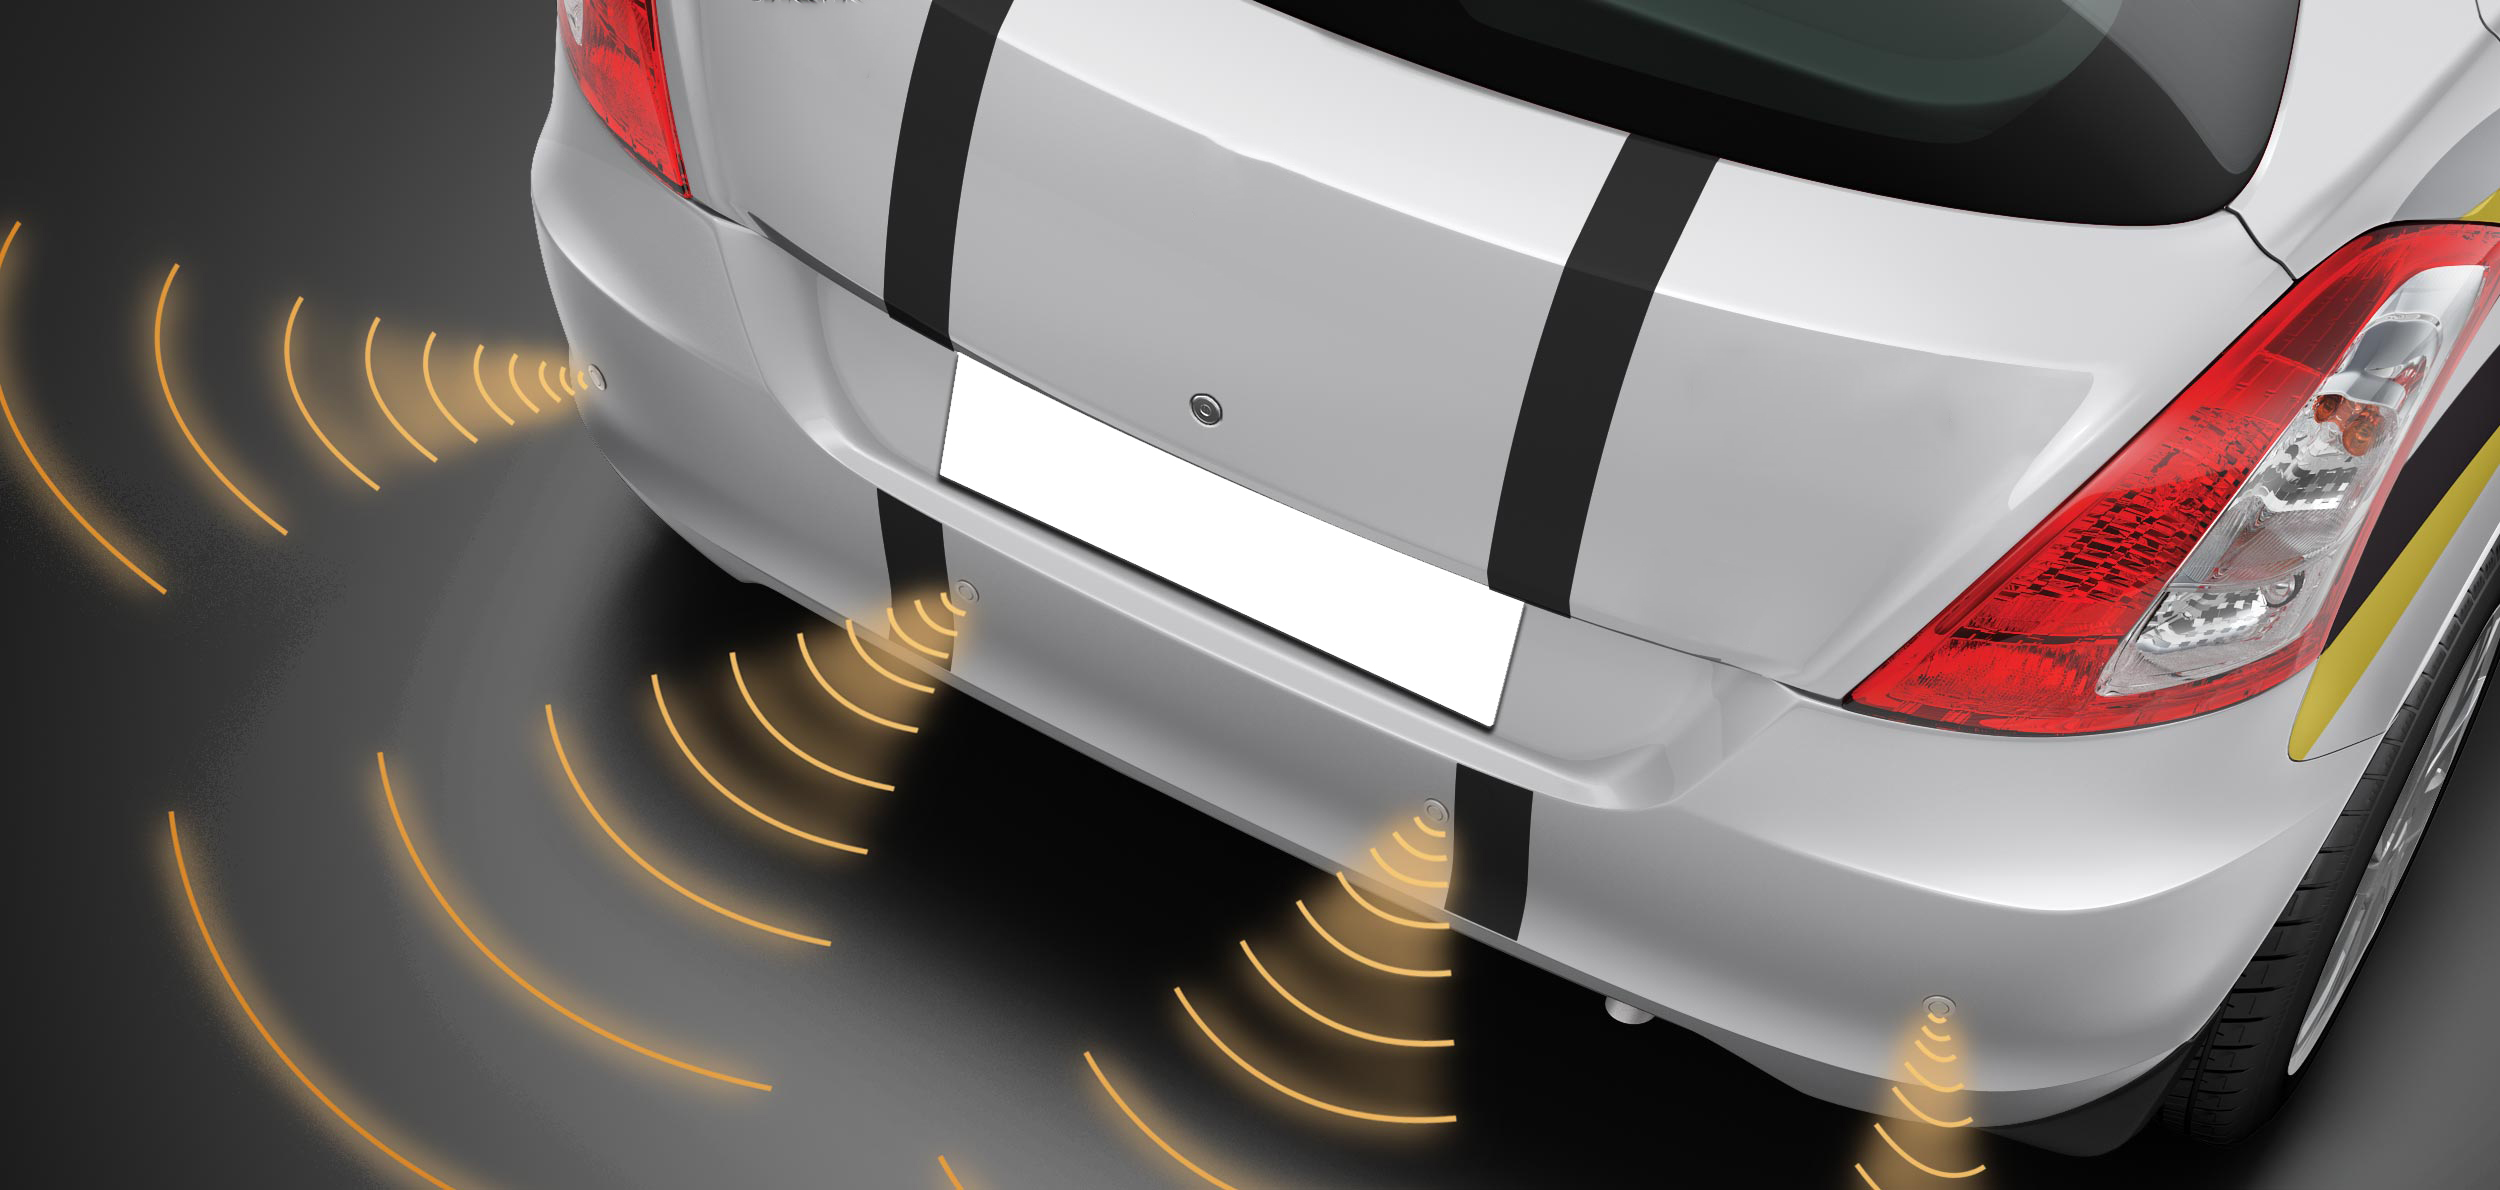
Parking sensors are proximity devices mounted on the front and/or rear bumpers of your car. They detect nearby objects and alert you—usually through a beep or visual indicator—helping you avoid collisions while parking or reversing.
There are two main types:
-
Ultrasonic sensors: Use sound waves to detect obstacles.
-
Electromagnetic sensors: Use a magnetic field to identify objects without the need to drill holes.
Why Retrofit Instead of Buy New?
While many affordable cars with advanced driver assistance systems already include parking sensors, not everyone wants to buy a new vehicle. Retrofitting your current car is far more economical and can add significant value.
Table: Comparison of Popular Aftermarket Parking Sensor Kits
| Product Name | Sensor Type | Display | Approx. Cost | Drilling Required | Best For |
|---|---|---|---|---|---|
| ePath Digital Sensor | Ultrasonic | LED display + Beep alert | $25 – $35 | Yes | Basic DIY installation |
| EKYLIN Parking System | Ultrasonic | Audible only | $20 – $30 | Yes | Budget-conscious buyers |
| Steelmate PTS400EX | Ultrasonic | Visual + Voice alert | $50 – $80 | Yes | Mid-range quality |
| Fosmon EM Sensor Kit | Electromagnetic | Audible only | $35 – $50 | No | Non-drill installations |
| ZoneTech Backup Sensor | Ultrasonic | LED + Beep | $25 – $40 | Yes | Small to midsize cars |
Tools and Materials Needed
To retrofit parking sensors, you’ll need:
-
Parking sensor kit
-
Power drill (for ultrasonic sensors)
-
Hole saw (usually provided with kit)
-
Screwdriver set
-
Wire connectors or crimping tools
-
Multimeter (for checking electrical connections)
-
Electrical tape
-
Zip ties for wire management
Step-by-Step: How to Retrofit Parking Sensors
Step 1: Choose the Right Sensor Kit
Select a kit that suits your vehicle’s needs and your technical comfort level. If you’re not comfortable drilling into your bumper, go for an electromagnetic kit that adheres to the inside surface.
Step 2: Plan the Sensor Layout
-
Measure your bumper and evenly space the sensors, generally 18–24 inches apart.
-
Most rear systems use 4 sensors. Mark the placement with masking tape.
Step 3: Drill Holes (Ultrasonic Only)
-
Use the hole saw that comes with your kit to drill holes in the bumper.
-
Clean up any sharp edges or debris.
Step 4: Install the Sensors
-
Snap or slide each sensor into the drilled holes.
-
Ensure they are facing outward and level to the ground.
Step 5: Route the Wires
-
Run the sensor wires through the car’s trunk and into the cabin.
-
Use zip ties to secure loose wires and keep them out of the way of moving parts.
Step 6: Connect the Control Unit
-
Mount the control box in the trunk or rear compartment.
-
Connect each sensor to the unit according to the color codes or labeled ports.
Step 7: Tap Into the Reverse Light Wire
-
Using a multimeter, identify the reverse light wire.
-
Splice the sensor system’s power wire into the reverse light’s positive lead.
-
Ground the black wire to a clean, unpainted metal surface.
Step 8: Mount the Alert System
-
If your system has a beeper or LED display, mount it on the dash or rear shelf where it’s easily visible/audible.
-
Connect it to the control box.
Step 9: Test the System
-
Turn on your car and shift into reverse.
-
Place an object behind the vehicle and check for alerts.
-
Make sure each sensor activates correctly.
Advantages of Retrofitting Parking Sensors
-
Cost-effective: Kits start as low as $20
-
Customizable: Choose between visible or hidden sensors
-
Improved safety: Helps prevent accidents, especially in tight spaces
-
Increased vehicle value: Great resale point
Common Mistakes to Avoid
-
Incorrect spacing: Can lead to blind spots
-
Wiring errors: May cause the system not to activate
-
Mounting sensors too low or high: Affects detection accuracy
-
Forgetting to seal holes: Leads to water entry and corrosion
Always follow the manufacturer’s instructions for your specific sensor model.
Integrating Sensors with Cameras or Displays
Some high-end aftermarket systems can connect to a dash display or backup camera. If your car has an infotainment system with auxiliary input or a screen, you might consider integrating the sensors with a visual display for added convenience.
Frequently Asked Questions (FAQs)
1. Can I install parking sensors myself?
Yes. Most sensor kits are DIY-friendly and come with instructions. However, if you’re uncomfortable with electrical work or drilling, professional installation is recommended.
2. How long does it take to install parking sensors?
Installation usually takes 1 to 3 hours, depending on your experience level and the complexity of the system.
3. Are there parking sensor kits that don’t require drilling?
Yes. Electromagnetic kits stick to the inside of your bumper and require no drilling, making them ideal for leased cars or those without plastic bumpers.
4. Will retrofitting parking sensors void my warranty?
No. As long as the installation doesn’t damage any factory systems, your warranty should remain intact. Always double-check with your vehicle manufacturer or dealer.
5. Do aftermarket sensors work as well as factory-installed ones?
Many aftermarket systems are highly reliable and offer performance close to factory systems, especially from reputable brands.
Final Thoughts
Learning how to retrofit parking sensors in any car is a great way to upgrade your vehicle without spending a fortune. Whether you drive a compact sedan, SUV, or an older model, the added safety and convenience are well worth the effort.
After all, no matter if you park using handicap permissions, reserve your space at work, or pull into the last spot in a busy inner-city parking lot, safety is always paramount.
With a little time, the right tools, and the proper kit, you can turn any car into a more modern, secure vehicle ready for city traffic and tight parking spots.
And if you’re already exploring affordable cars with advanced driver assistance systems, adding parking sensors to your current vehicle might offer many of the same benefits—at a fraction of the cost.