
The rise of online learning and certification exams has made remote proctoring tests a common practice. Whether you are a student, job applicant, or professional taking a certification, setting up your environment properly is crucial to ensure a smooth test-taking experience. Unlike traditional exams, remote proctoring involves strict monitoring through webcams, microphones, and screen-sharing software to maintain integrity. Any disturbance in your setup can lead to stress, technical glitches, or even test disqualification.
In this guide, we’ll walk you through the essential steps to set up your space for a remote proctoring test. From technical requirements to environmental setup, you’ll learn everything you need to be fully prepared.
What Is a Remote Proctoring Test?
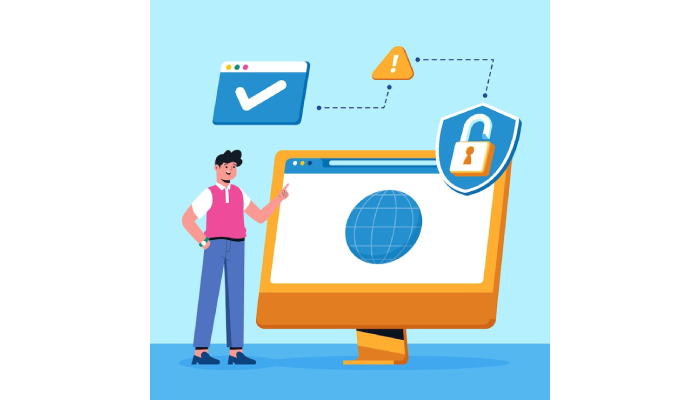
Before diving into setup, let’s understand what a remote proctoring test is. These are online exams monitored through specialized software and live or AI-based proctors. The system tracks your video, audio, and sometimes your screen activity to ensure you’re not engaging in unfair practices.
Some key features of remote proctoring include:
- Identity verification through photo ID and webcam.
- Continuous monitoring using your webcam and microphone.
- Browser lockdowns preventing you from switching tabs.
- Environment checks requiring a clean and distraction-free space.
Because of these conditions, setting up your space in advance is not just helpful—it’s mandatory.
Why Proper Setup Matters?
Improper preparation can lead to:
- Technical issues like weak internet or hardware malfunctions.
- Stress or panic during the test.
- Unintentional violations of test rules (like noise or background movement).
- Possible test invalidation if the proctoring software detects suspicious activity.
By investing time in preparing your environment, you can focus entirely on performing well rather than troubleshooting problems mid-test.
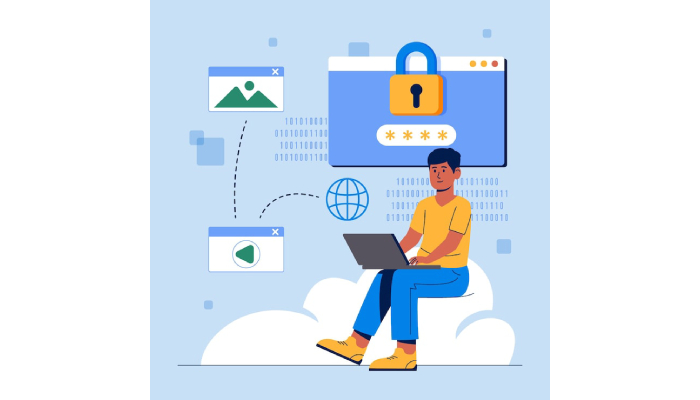
Step 1: Check Your Technical Requirements
Your device and internet are the backbone of a smooth remote proctoring test. Test administrators usually provide a checklist of minimum requirements.
Hardware
- Laptop or Desktop Computer: Avoid using tablets or mobile phones unless explicitly allowed.
- Webcam: A working camera with clear video quality is essential. External webcams may offer better clarity than built-in ones.
- Microphone and Speakers/Headset: These are needed for communication and monitoring. Ensure they are functional and free from static noise.
Internet Connection
- Stable Broadband Connection: Aim for at least 1–2 Mbps upload/download speed, though higher is recommended.
- Wired Connection: If possible, use Ethernet over Wi-Fi for more stability.
Software
- Updated Browser: Chrome, Firefox, or whichever the proctoring software recommends.
- Proctoring Application: Download and install the test software well in advance.
- System Updates: Complete pending OS or antivirus updates before the exam day to avoid interruptions.
Step 2: Choose the Right Space
Your physical environment plays a huge role in ensuring a seamless remote proctoring test experience.
Privacy
- Select a quiet room where you won’t be disturbed.
- Inform your family or roommates about your exam schedule.
- Lock the door if possible to prevent unexpected entries.
Lighting
- Sit in a well-lit area so your face is clearly visible on camera.
- Avoid sitting with your back to a window, as strong light behind you can cause shadows.
Background
- Keep your background neutral and clutter-free.
- Avoid posters, books, or devices that may look suspicious to the proctor.
Furniture
- Use a comfortable chair and desk setup.
- Place your device on a stable surface to prevent shaking or movement.
Step 3: Remove Distractions and Restricted Items
Proctoring software is designed to flag unusual activity. To prevent false alerts, clear your space of unnecessary items.
- Remove phones, smartwatches, headphones, or any external gadgets.
- Keep only permitted items like your ID card, pen, and scratch paper (if allowed).
- Turn off notifications on your device to avoid pop-ups.
- Mute your phone and place it out of reach.
Step 4: Test Your Equipment in Advance
Most exam platforms offer a system check tool to verify whether your setup is compatible. Run this check at least a day before your exam.
What to Check:
- Camera clarity and correct positioning.
- Microphone input—speak to confirm your voice is audible.
- Internet speed using tools like Speedtest.
- Browser compatibility and security permissions (camera/mic access).
Doing this early gives you enough time to troubleshoot issues or arrange alternatives.
Step 5: Position Yourself Correctly
Your sitting posture and camera placement are important for monitoring.
- Place your camera at eye level so your entire face is visible.
- Sit upright with your head and shoulders in the frame.
- Ensure that your desk surface is visible if required by the rules.
- Avoid leaning out of frame or moving frequently, as it can raise red flags.
Step 6: Prepare Yourself Mentally and Physically
Even the perfect setup won’t help if you are anxious or unprepared.
- Sleep well the night before the exam.
- Eat a light meal before the test to avoid distractions.
- Keep a water bottle nearby if permitted.
- Log in 15–20 minutes early to reduce stress.
Step 7: Follow Proctoring Rules Strictly
During a remote proctoring test, you are being constantly monitored. Be mindful of the rules to avoid penalties.
- Do not talk to anyone during the exam.
- Do not use hand gestures unnecessarily.
- Do not attempt to use another device or resource.
- Keep your eyes focused on the screen as much as possible.
Step 8: Have a Backup Plan
Despite preparation, technical failures can still happen. Always keep a backup ready.
- A secondary internet source (mobile hotspot).
- A spare laptop if possible.
- Contact details of technical support provided by the exam organizer.
Being prepared for contingencies ensures you won’t panic if something goes wrong.
Additional Tips for Success
- Do a mock test if the platform provides one.
- Restart your computer before the test to free up RAM and prevent lag.
- Close all background applications (especially messaging or screen-sharing apps).
- Keep documents ready—your ID card is usually mandatory for verification.
Conclusion
Setting up your space for a remote proctoring test is about more than just technology—it’s about creating an environment where you can focus fully without distractions. By ensuring your technical requirements are met, choosing the right space, eliminating distractions, and following rules carefully, you give yourself the best chance at success.
Remember, the proctoring system is designed to ensure fairness. Treat it like a traditional test center—organized, distraction-free, and professional. With the right preparation, you can approach your remote exam with confidence and clarity.