
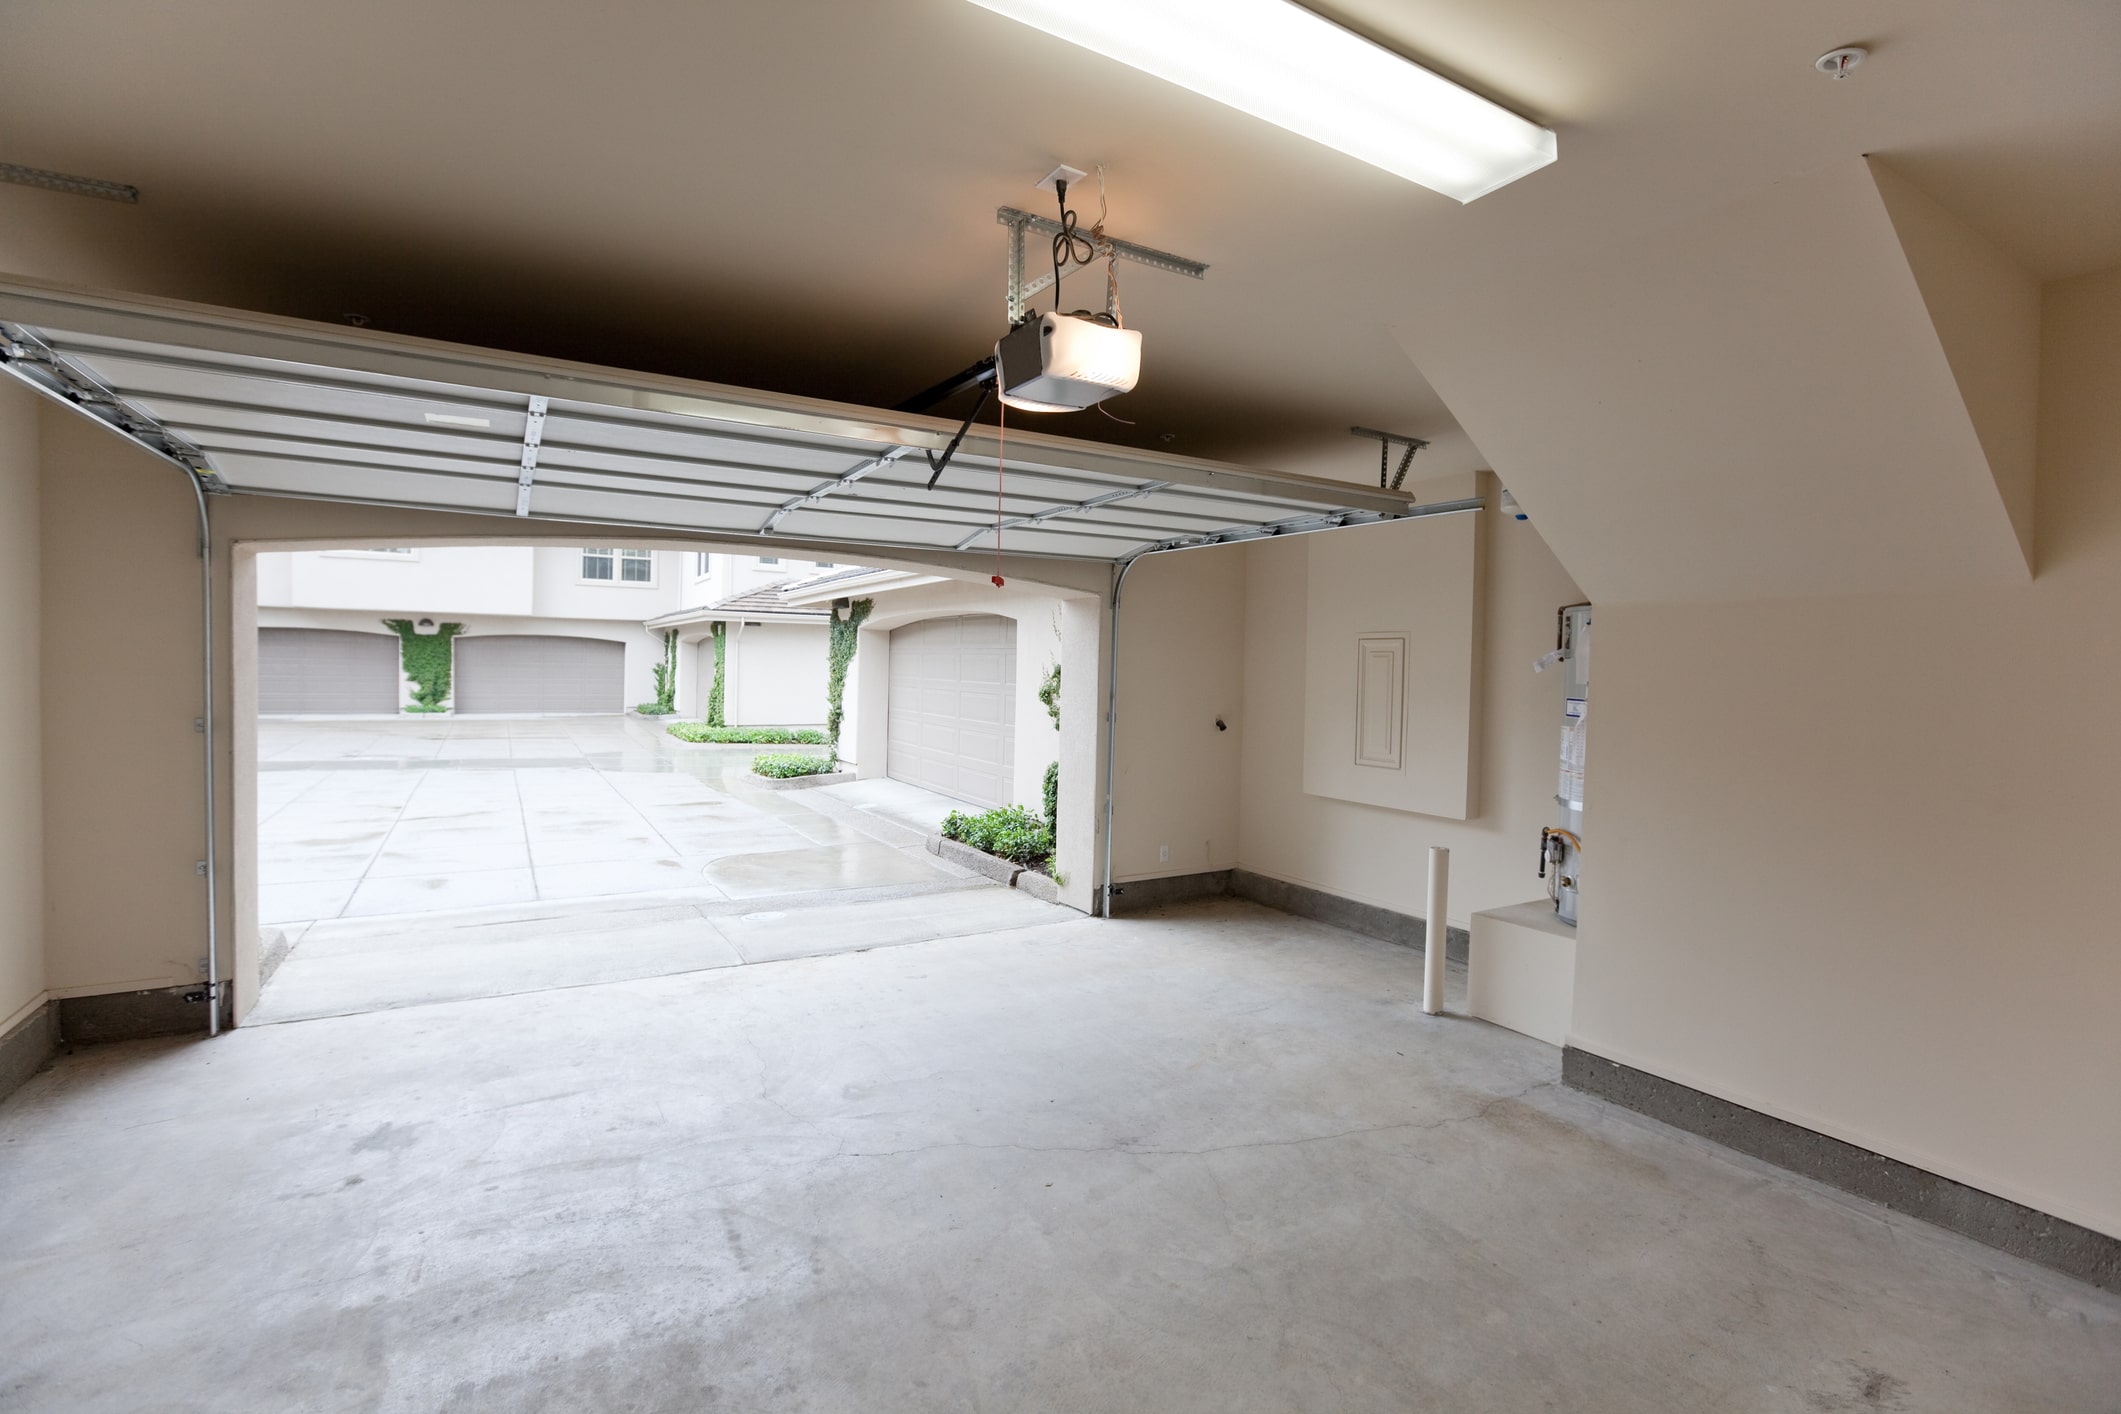
Some garage floors take a beating and still look clean after a decade. Others start chipping and staining within a year. The difference is not luck. It comes down to how the floor was prepped, what finish was applied, and whether moisture was handled first. Durable garage flooring starts with choices made before the first coat hits the slab.
Floor Surface Prep Makes or Breaks the Finish
No coating or finish will hold if the surface underneath is not ready. This is where most garage renovation projects go wrong. People skip prep work because it is boring and jump straight to the pretty part.
Why Grinding Beats Acid Etching
Acid etching was the old standard for prepping concrete. It roughens the surface so coatings can grip. But it does not open the pores deep enough for a lasting bond. Mechanical grinding with a diamond disc creates a much better surface profile. It removes the weak top layer and exposes fresh, solid concrete underneath. Coatings stick harder and last longer on a ground surface.
Clean the Slab Down to Bare Concrete
Grease, oil, and old paint act as barriers between your floor and any new finish. Even a thin film of tire dust can cause peeling. Degrease the entire floor first, then grind. If you grind over contaminants, you just push them deeper into the pores. The order of steps matters as much as the steps themselves.
Concrete Hardness Affects How Long Your Floor Holds Up
Not all concrete is the same. The mix, the cure time, and the age of the slab all play a role in how hard the surface is. Harder concrete holds finishes better and resists wear longer.
How to Test Your Slab
A simple scratch test tells you a lot. Drag a nail or a key across the surface. If it leaves a deep white line with little effort, the concrete is soft. Soft slabs need a densifier or hardener before any coating goes on. This chemical soaks into the top layer and creates a stronger surface for the finish to bond to. Skipping this step on soft concrete is a common reason floors fail early.
Moisture Vapor Will Ruin Any Floor Finish
This is the hidden problem that wrecks more garage floors than anything else. Moisture vapor rises through concrete from the ground below. You cannot see it, but it pushes up against whatever sits on top. Coatings bubble. Epoxies peel. Paint flakes off in sheets.
The Calcium Chloride Test
Before you commit to any finish, test for moisture. Tape a square of plastic sheeting to the floor and leave it for 48 to 72 hours. If moisture collects underneath, you have a vapor issue. A more precise method is the calcium chloride test, which measures the actual rate of moisture moving through the slab. Anything above three pounds per thousand square feet per 24 hours is a problem for most coatings.
How to Fix a Moisture Problem
A vapor barrier or moisture-blocking primer can handle mild cases. For slabs with heavy moisture, you may need a thicker system rated for high vapor transmission. Do not guess on this. Getting it wrong means tearing everything up and starting over. Floors that handle both prep and moisture right from the start are the ones homeowners who invest in polished concrete floors tend to be happiest with years down the road.
Abrasion Resistance and Slip Resistance Go Hand in Hand
A garage floor needs to handle rolling tires, dropped tools, road salt, and foot traffic. Abrasion resistance is what keeps the surface from wearing thin under daily use.
Choosing a Finish That Handles Real Life
Epoxy coatings are popular because they are tough and come in many colors. Polyurea and polyaspartic systems cure faster and flex better in temperature swings. Polished concrete skips the coating and hardens the slab itself. Each option has a different level of abrasion resistance. Match the finish to how you actually use the space. A workshop with heavy tools needs more protection than a floor that just parks two cars.
Slip resistance matters too. A glossy floor looks great until it gets wet. Most quality finishes let you add a grit additive that keeps traction without ruining the look. Ask about this before the final coat goes on, not after.
Shine Retention Depends on Simple Upkeep
A floor that shines on day one but dulls by month six was either poorly applied or never maintained. Shine retention is not magic. It is the result of routine care.
Sweep or dust mop weekly to remove the grit that scratches the surface. Mop monthly with a pH-neutral cleaner. Avoid harsh chemicals that strip the finish. If your floor has a topcoat, check it once a year by splashing water on the surface. If the water soaks in instead of beading, a fresh topcoat will bring the shine back and add another layer of protection. That small yearly check is the difference between a floor that lasts five years and one that lasts twenty.