
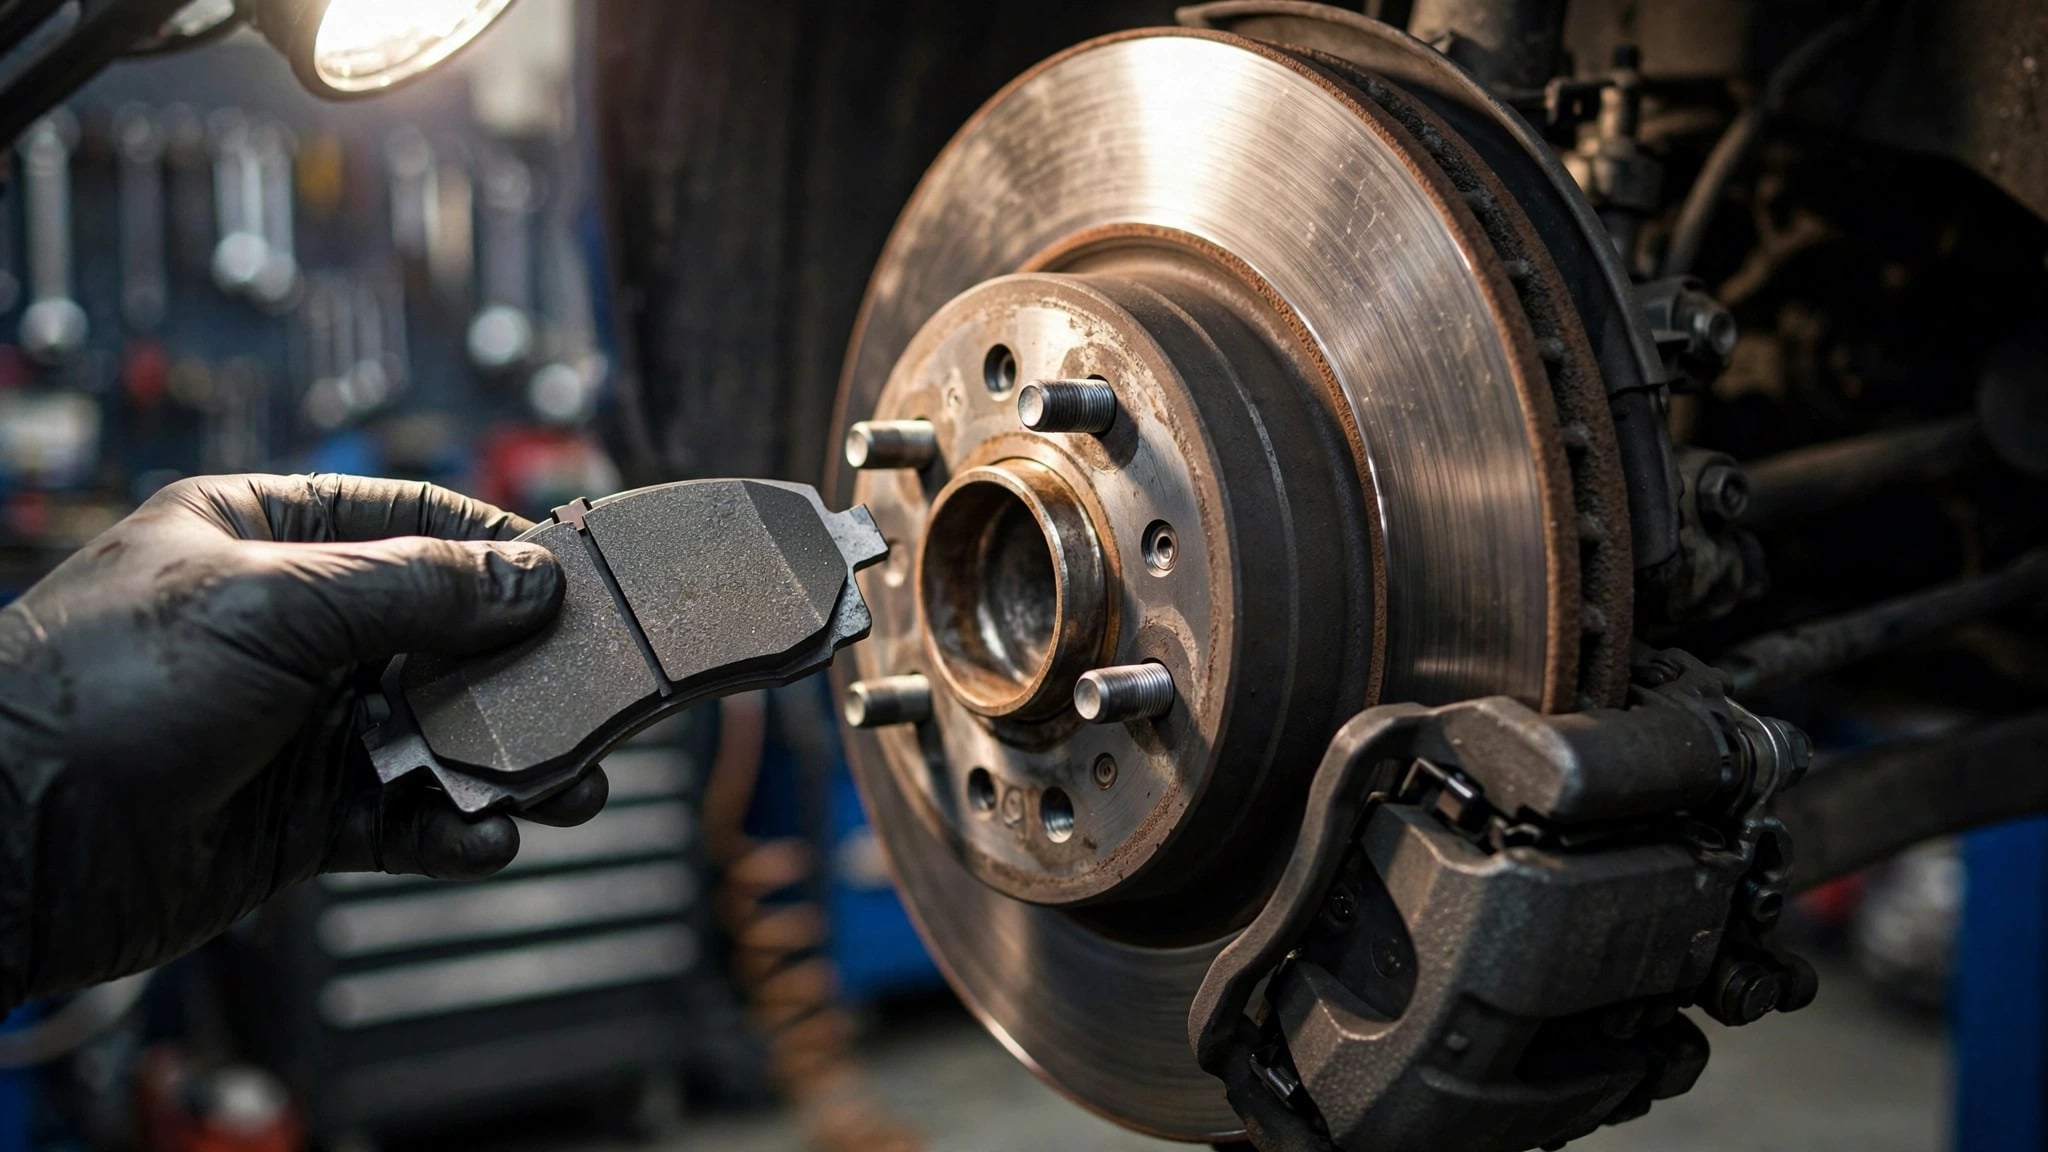
Changing brake pads is one of the most satisfying DIY car jobs: the parts are cheap, the process is straightforward, and a shop charges several hundred dollars for an hour of work you can do in your driveway. But brakes are also the one system where a mistake has real consequences. This guide covers the full job — and, just as importantly, when to stop and call a professional.
Safety first: Work on level ground, chock the wheels that stay on the ground, and never get under a car supported only by a jack — use jack stands, always. If at any point you find leaking brake fluid, a cracked caliper, or a deeply scored rotor, stop. Those are shop jobs.
What you’ll need
- New brake pads (correct for your exact year, make, model, and trim — pads are not universal)
- A jack and two jack stands rated for your vehicle’s weight
- Lug wrench or breaker bar
- Socket set and ratchet
- C-clamp or brake caliper piston tool (to compress the piston)
- Brake cleaner spray
- High-temperature brake grease (for pad contact points and caliper slide pins — never on the friction surface)
- Wire brush
- Torque wrench (for lug nuts on reassembly)
- Gloves and safety glasses
Budget about $40–80 for a quality set of pads for most sedans and crossovers. Avoid the cheapest no-name pads — braking performance and noise vary enormously, and this is not the place to economize.
Step 1: Prep and loosen
Park on flat, solid ground — concrete or asphalt, never soft dirt or grass. Engage the parking brake and chock the wheels on the opposite end of the car. Break the lug nuts loose while the wheel is still on the ground — a half-turn each is enough. If you wait until the car is in the air, the wheel will just spin.
Step 2: Lift and secure
Jack up the car at the manufacturer-recommended lift point (check your owner’s manual — lifting from the wrong spot can damage the underbody). Place jack stands under the designated support points, lower the car onto them, and give the car a firm shake. It should not move at all. Now finish removing the lug nuts and pull the wheel off.
Step 3: Remove the caliper
Locate the brake caliper — the clamp-like assembly over the rotor. Remove the caliper bolts (usually two, on the back of the caliper). Slide the caliper off the rotor. Do not let it hang by the brake hose — support it with a bungee cord or wire hooked to the suspension spring. A stretched or cracked brake hose is a serious failure.
Step 4: Remove the old pads and inspect
The old pads slide or clip out of the caliper bracket. Note their orientation — the new ones go in the same way. Now inspect: run your finger across the rotor surface. Light scoring is normal; deep grooves, cracks, or a pronounced lip on the rotor edge mean the rotors need attention (resurfacing or replacement — a shop call for most DIYers). Check the caliper slide pins move freely; sticky pins cause uneven pad wear.
Step 5: Compress the caliper piston
The piston needs to retract to make room for the new, thicker pads. Place one old pad against the piston and use the C-clamp to press it back slowly and evenly. Watch the brake fluid reservoir under the hood as you do this — fluid level will rise. If it’s near the top, siphon a little out first to avoid overflow (brake fluid eats paint).
Step 6: Install the new pads
Apply a thin film of high-temp brake grease to the backs of the new pads and the caliper contact points — never on the friction surface that touches the rotor. Slide the pads into the bracket exactly as the old ones sat. Reinstall any clips or shims that came with the new pads.
Step 7: Reinstall the caliper and wheel
Slide the caliper back over the pads and rotor, reinstall and tighten the caliper bolts. Remount the wheel, thread the lug nuts on by hand first (to avoid cross-threading), then lower the car off the stands. Torque the lug nuts to your manufacturer’s spec in a star pattern — your owner’s manual lists the figure. This is the step people skip; uneven or loose lug nuts are genuinely dangerous.
Step 8: Pump, test, bed in
Before driving: with the engine off, pump the brake pedal several times until it feels firm. The first pump will go to the floor — that’s normal (the piston was retracted). Check the brake fluid level and top up if needed. Then do a low-speed test in an empty lot: several stops from 20–30 mph. Finally, bed the pads in with a series of moderate stops from about 40 mph down to 10 mph, allowing the brakes to cool between each — this transfers an even layer of pad material to the rotor and prevents squeal.
When NOT to do this yourself
- Brake fluid is leaking anywhere in the system
- The brake pedal feels spongy even after bleeding (possible master cylinder or ABS issue)
- Rotors are deeply scored, cracked, or below minimum thickness
- Your car has an electronic parking brake that requires a scan tool to retract the rear calipers (common on many newer cars — check before you start)
- Anything feels wrong and you can’t identify why
There’s no shame in any of these. Brakes are the wrong system for learning by trial and error.
Related reading
- DIY Car Detailing at Home Step by Step
- DIY Car Interior Detailing: Step-by-Step Guide
- How to Maintain a Used Car for Longevity
- How to Remove Car Scratches with Toothpaste: A Simple DIY Fix
